How to Add a Meal?
Learn how to add a meal
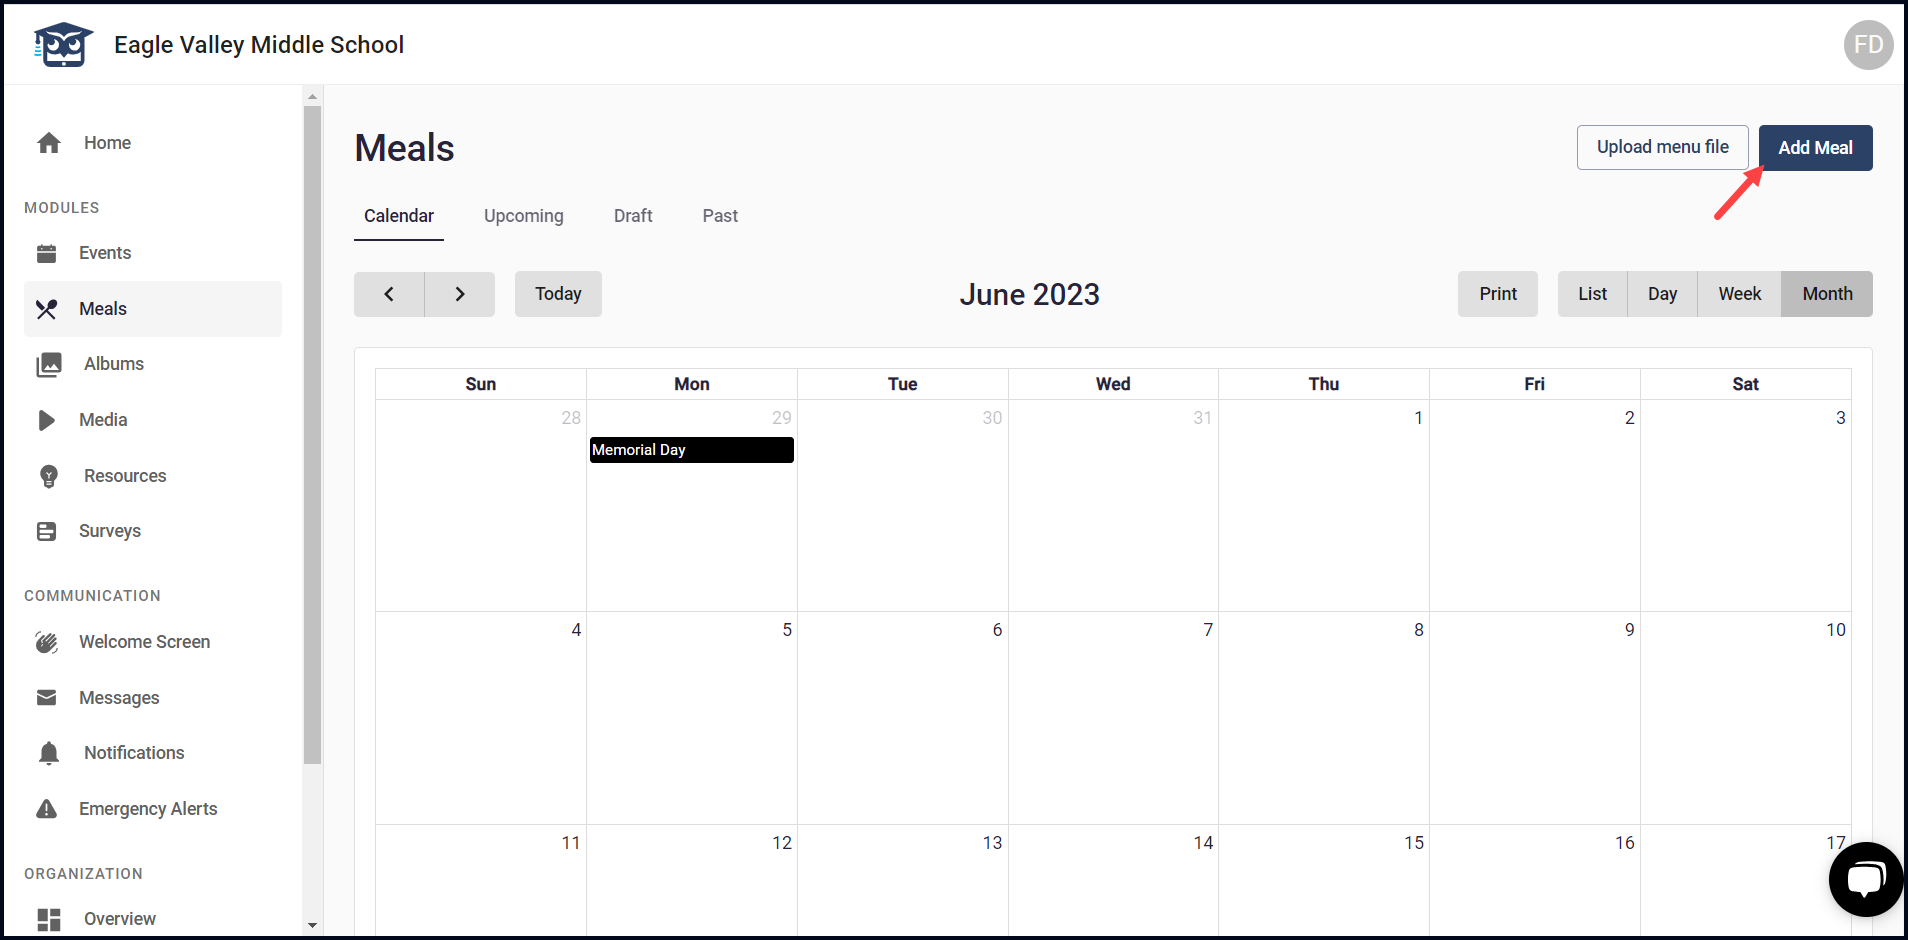
Campus Hub > Left-Hand Menu > Meals
1. Follow the above-mentioned workflow to land on the Meals screen.
2. Here, the meals are categorized in the same way as the Events. Moreover, the view options are also similar.
3. To add a meal, click the Add Meal button. This takes you to the New Meal screen.
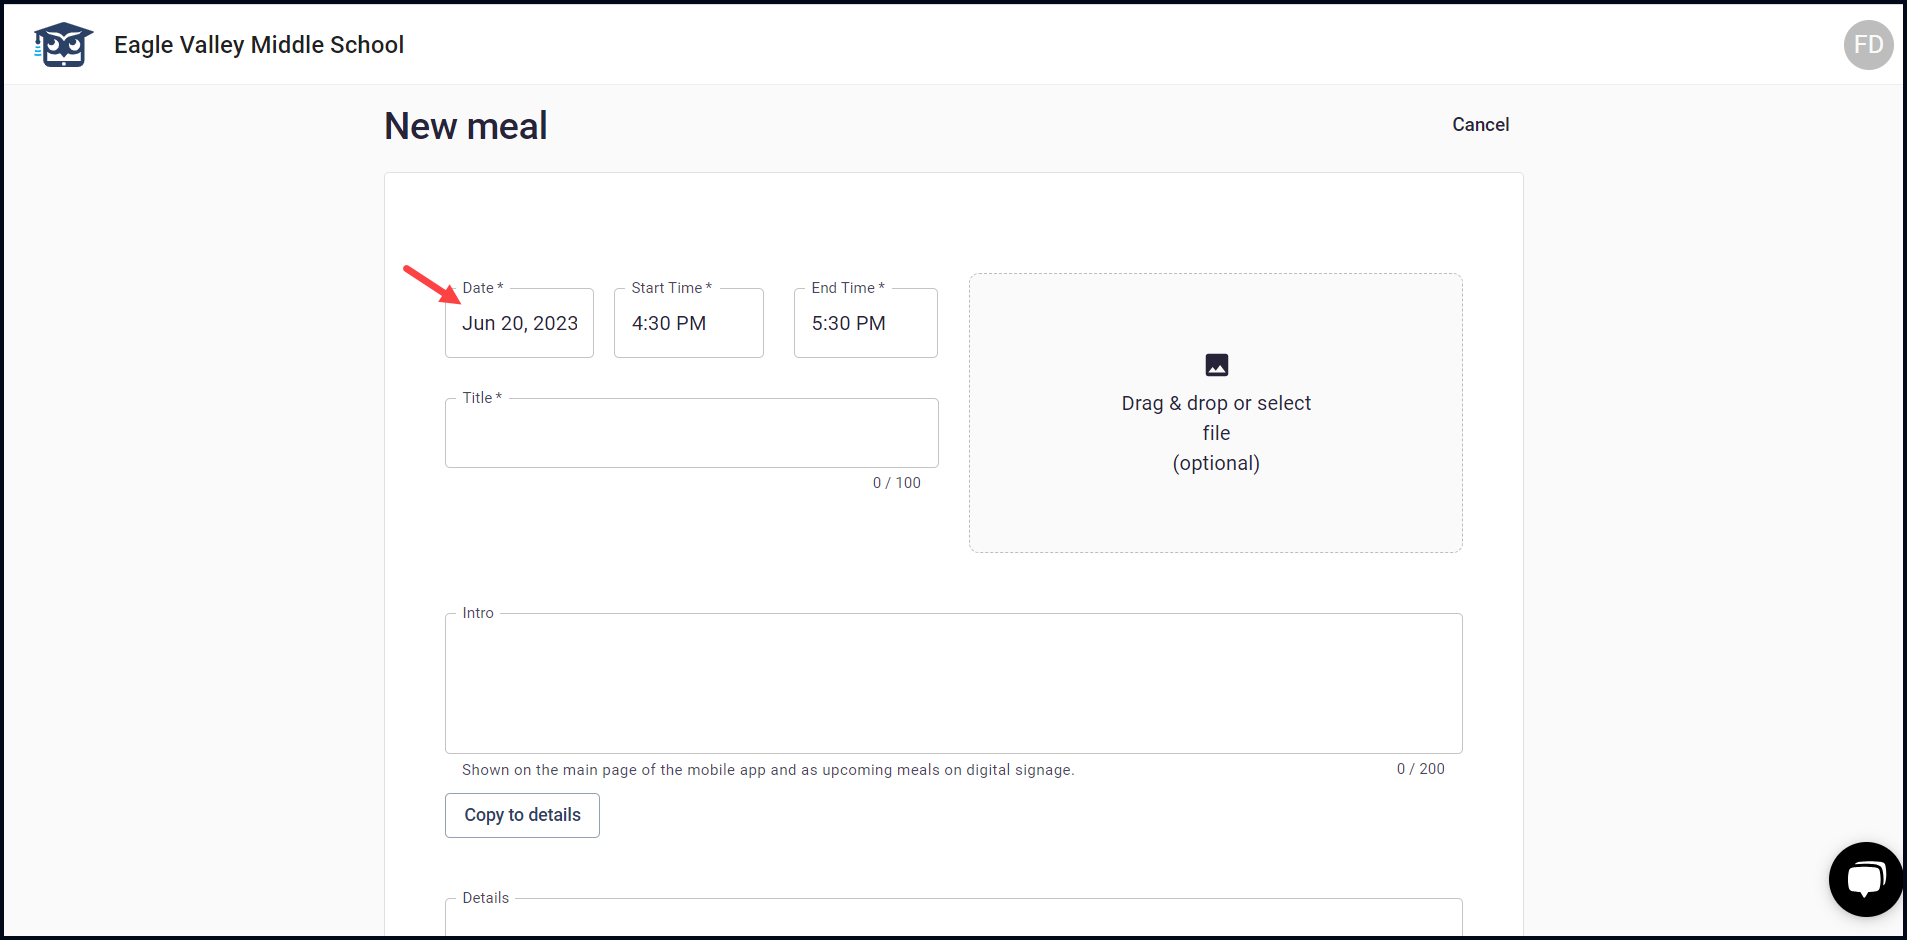
4. Here, select the start date for the meal using the Start date selector.
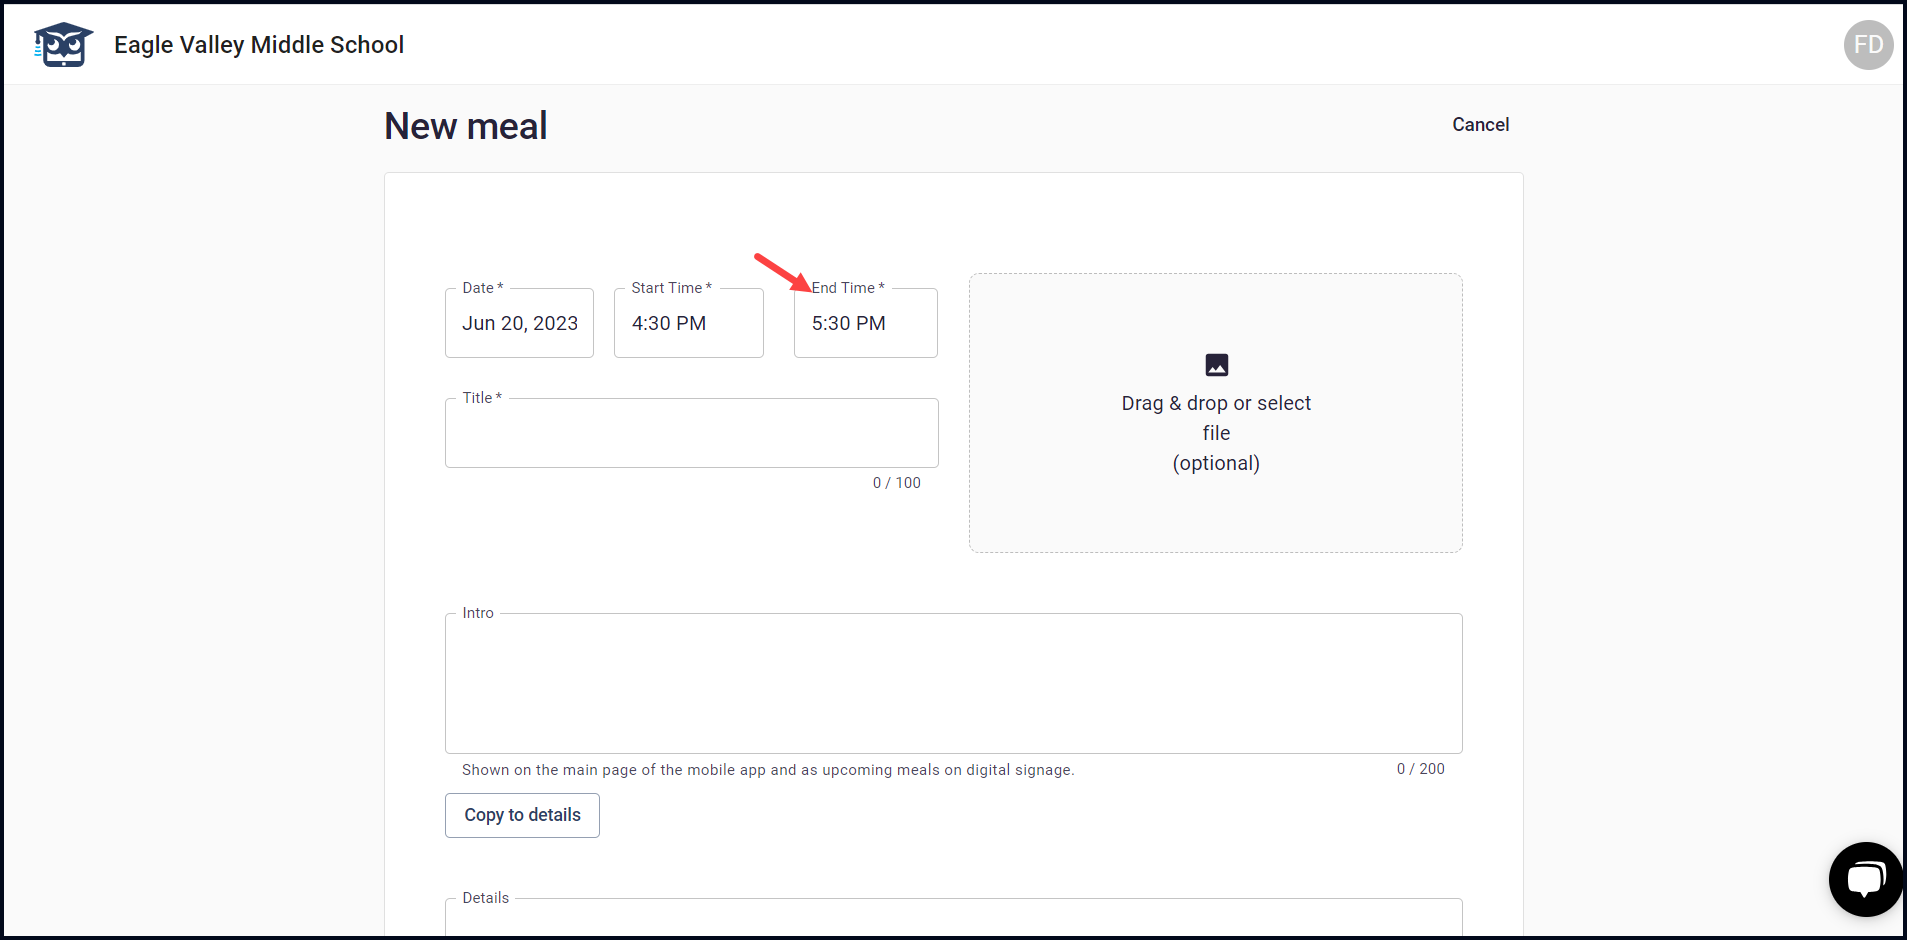
5. Select the start time for the meal using the Start Time clock.
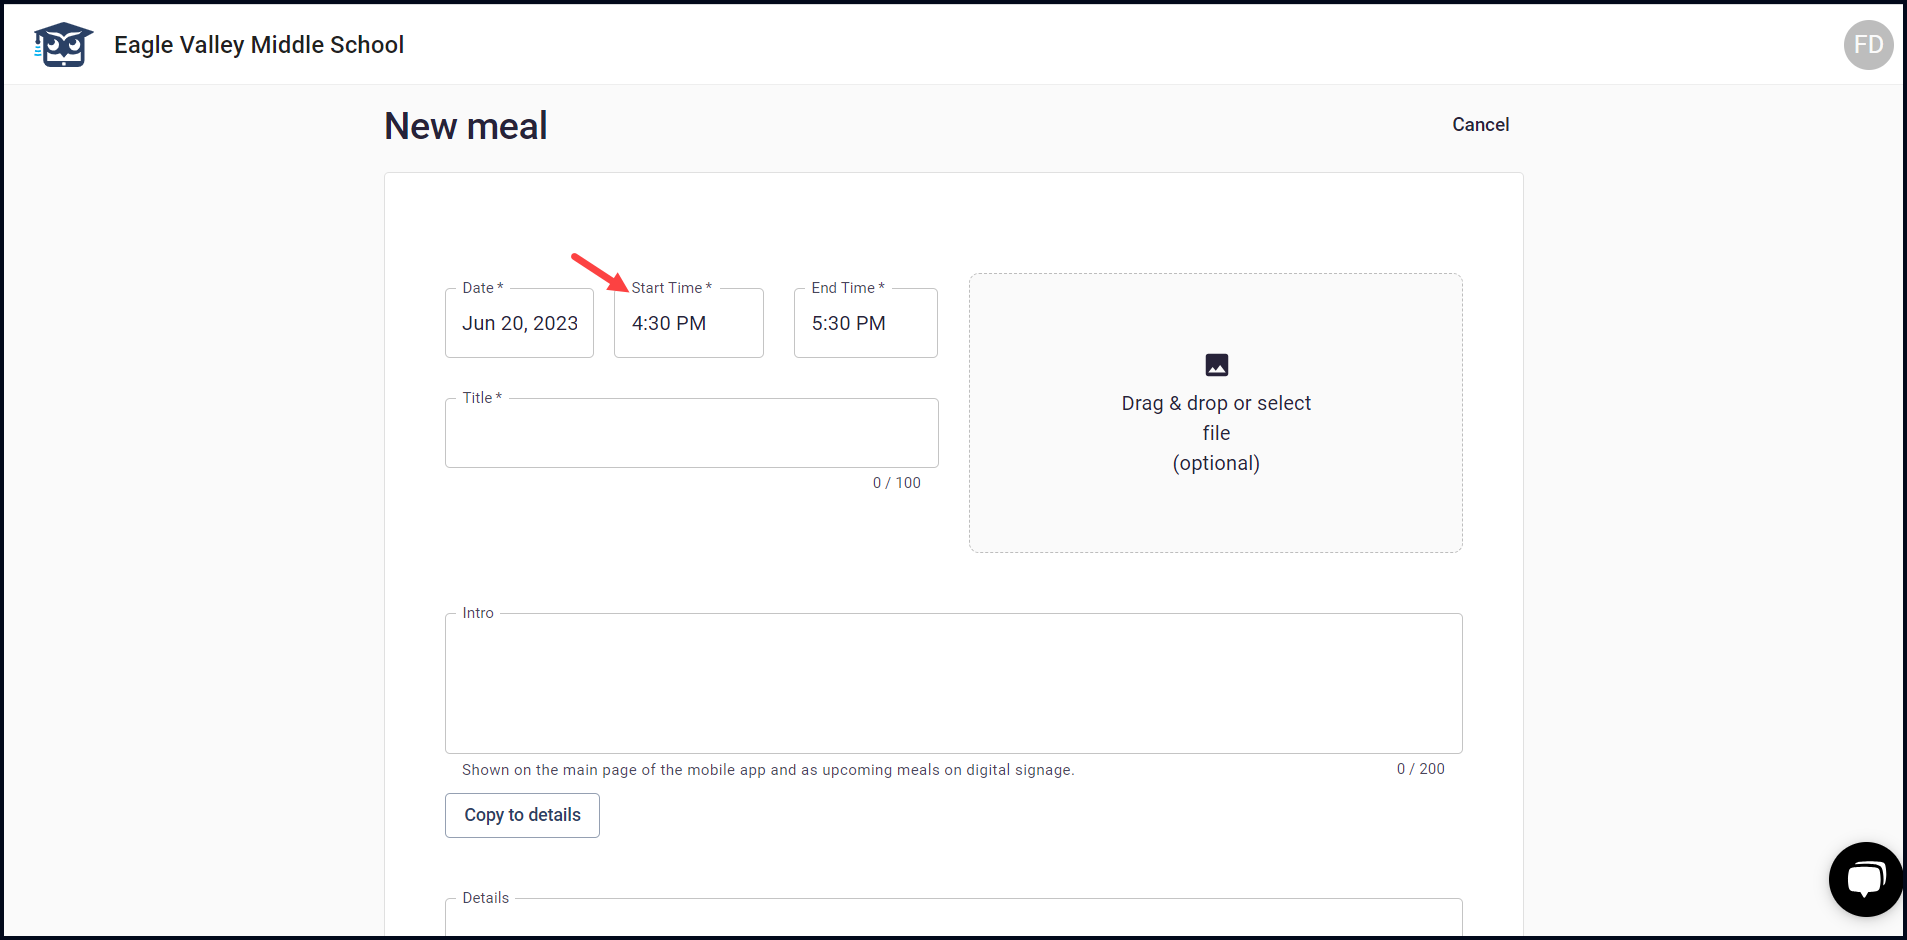
6. Select the end time for the meal using the End Time clock.
7. Enter the title of the meal in the Title field.

8. Enter an introduction of the meal in the Intro textbox.

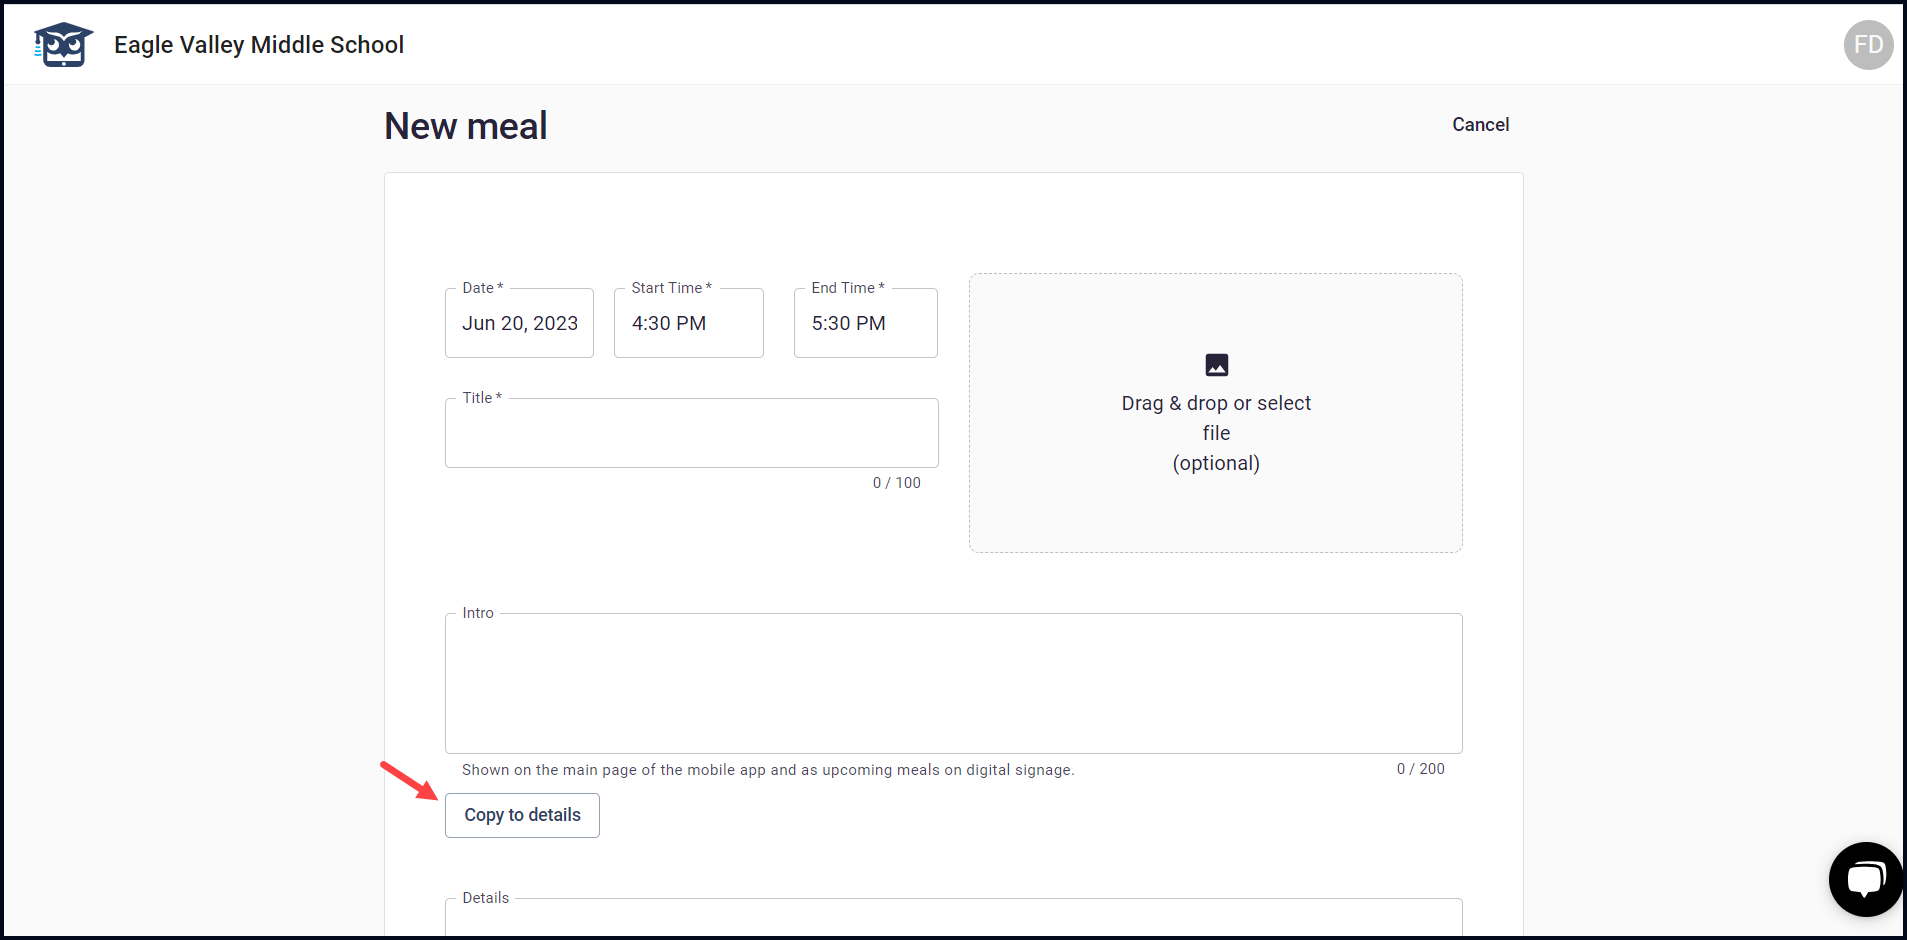
9. In case you want to copy the intro to the details textbox, click the Copy to Details button.
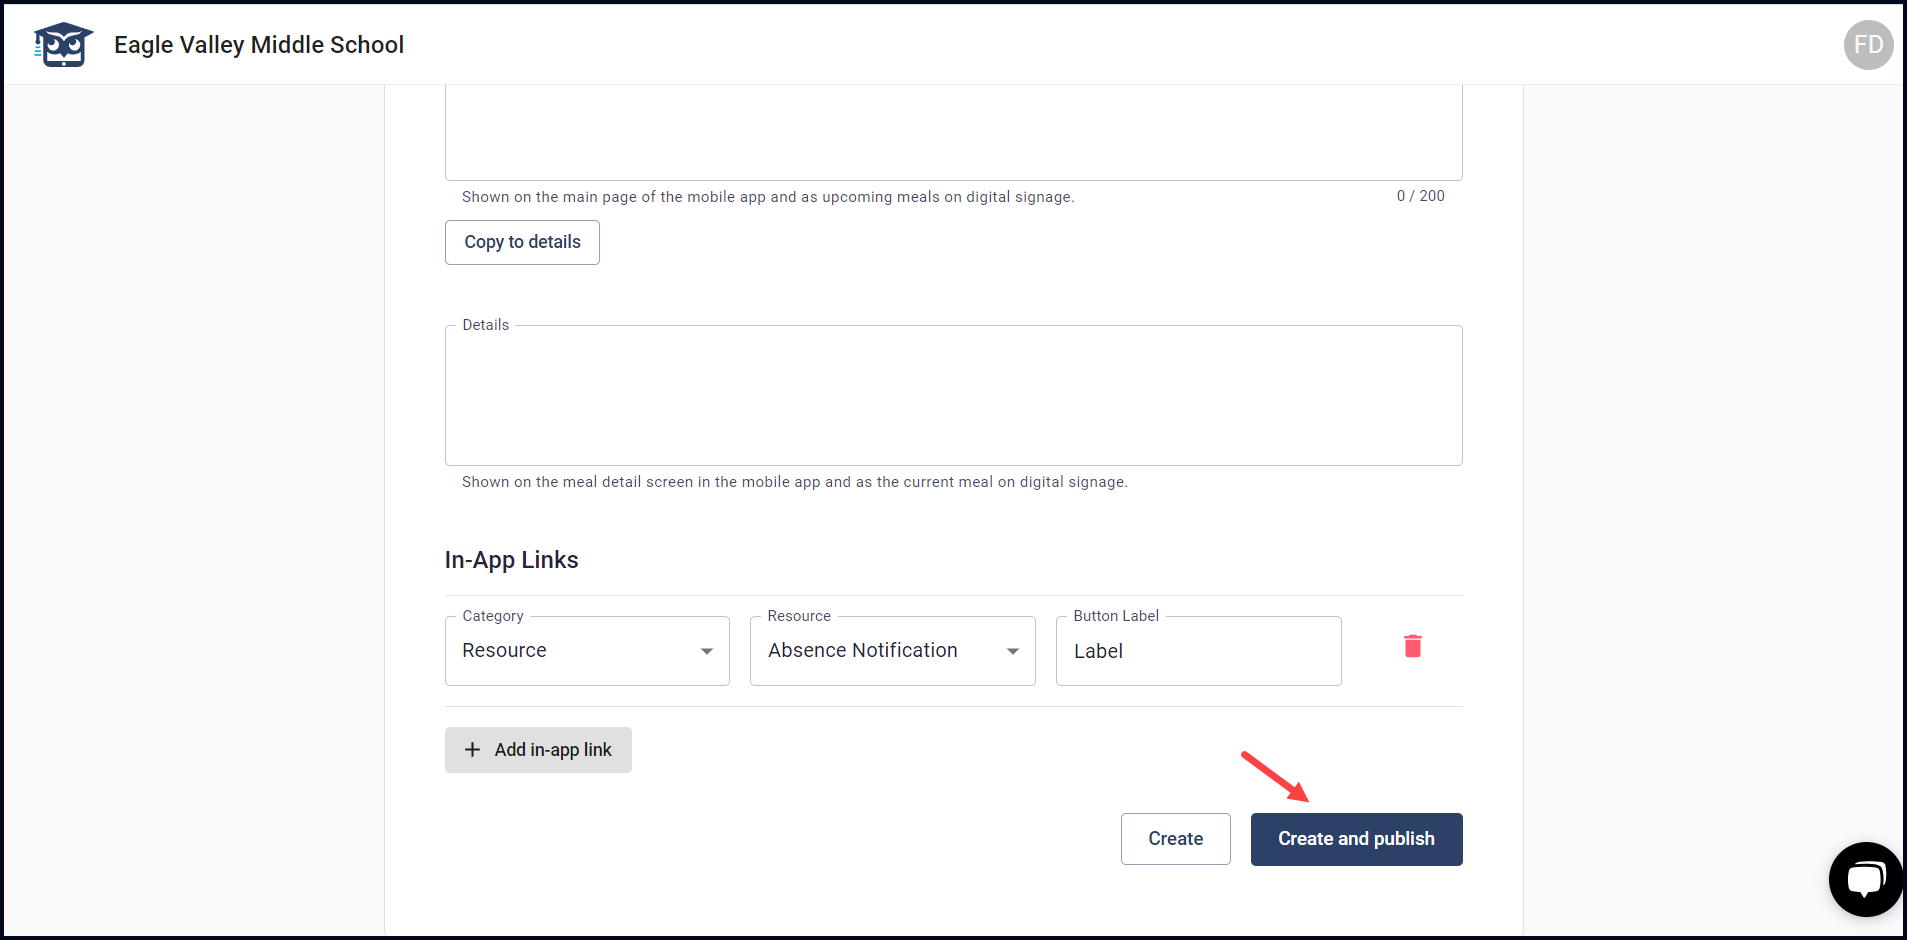
10. In case you want to record details separately, enter them in the Details textbox.
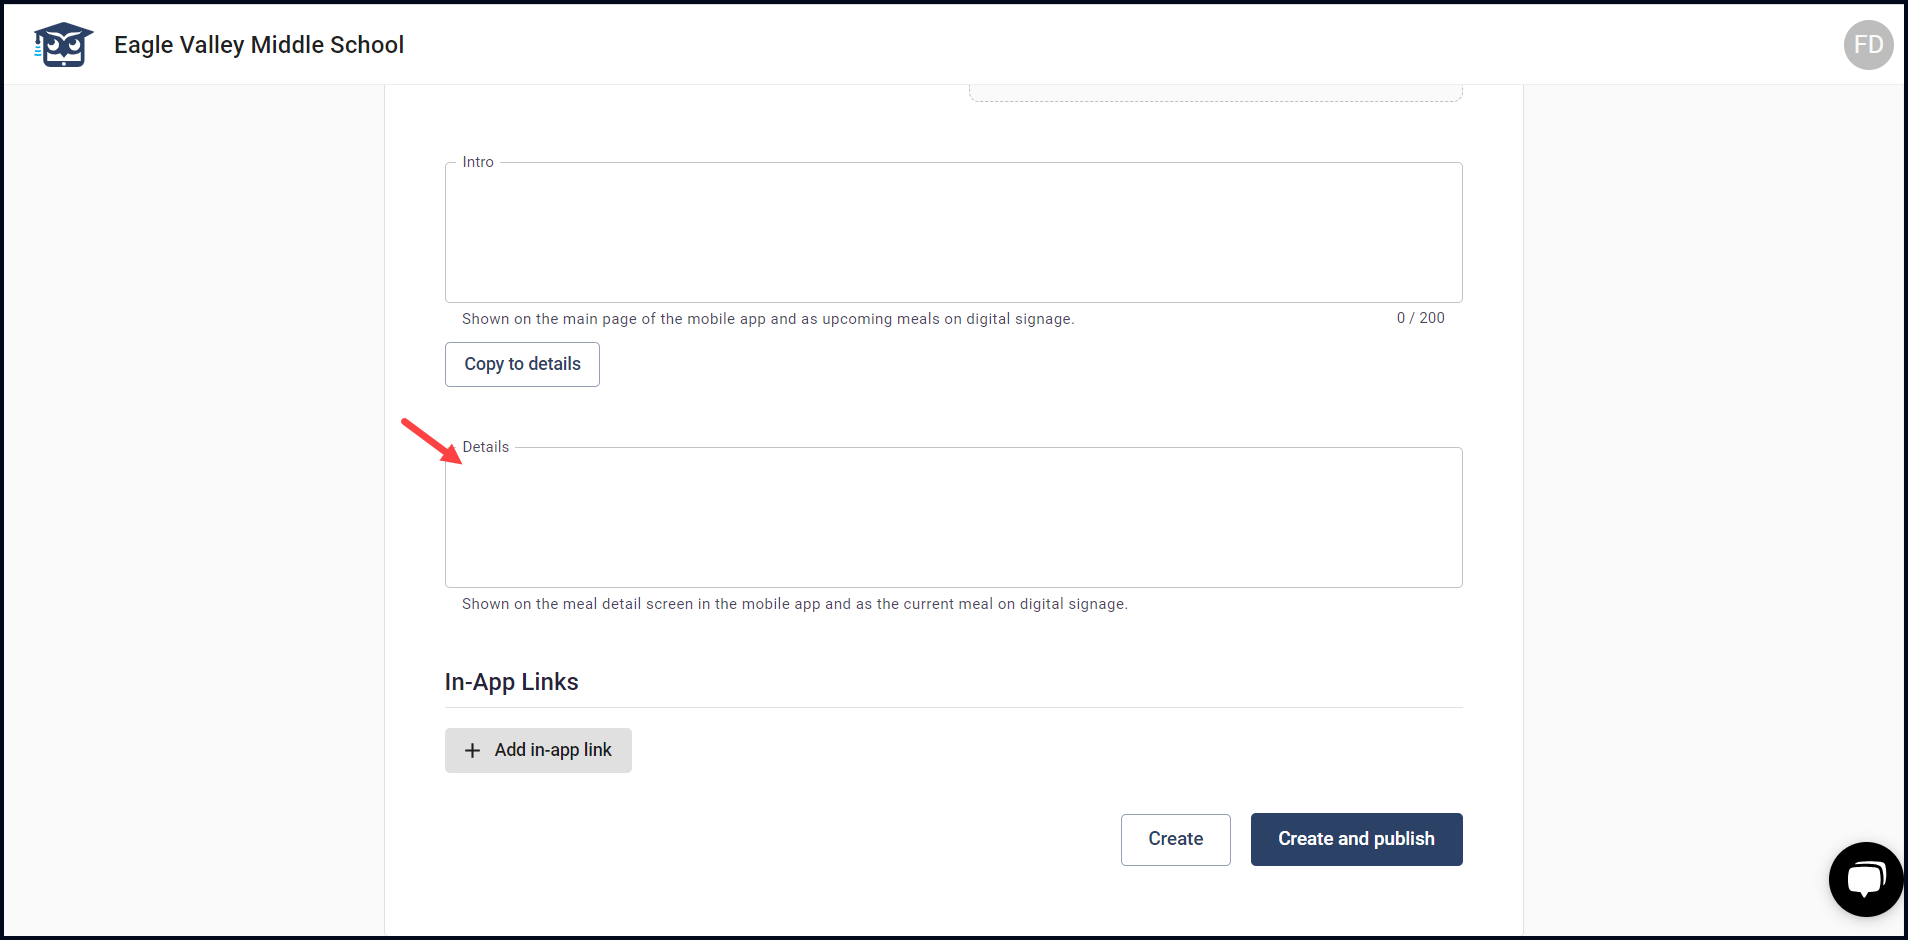
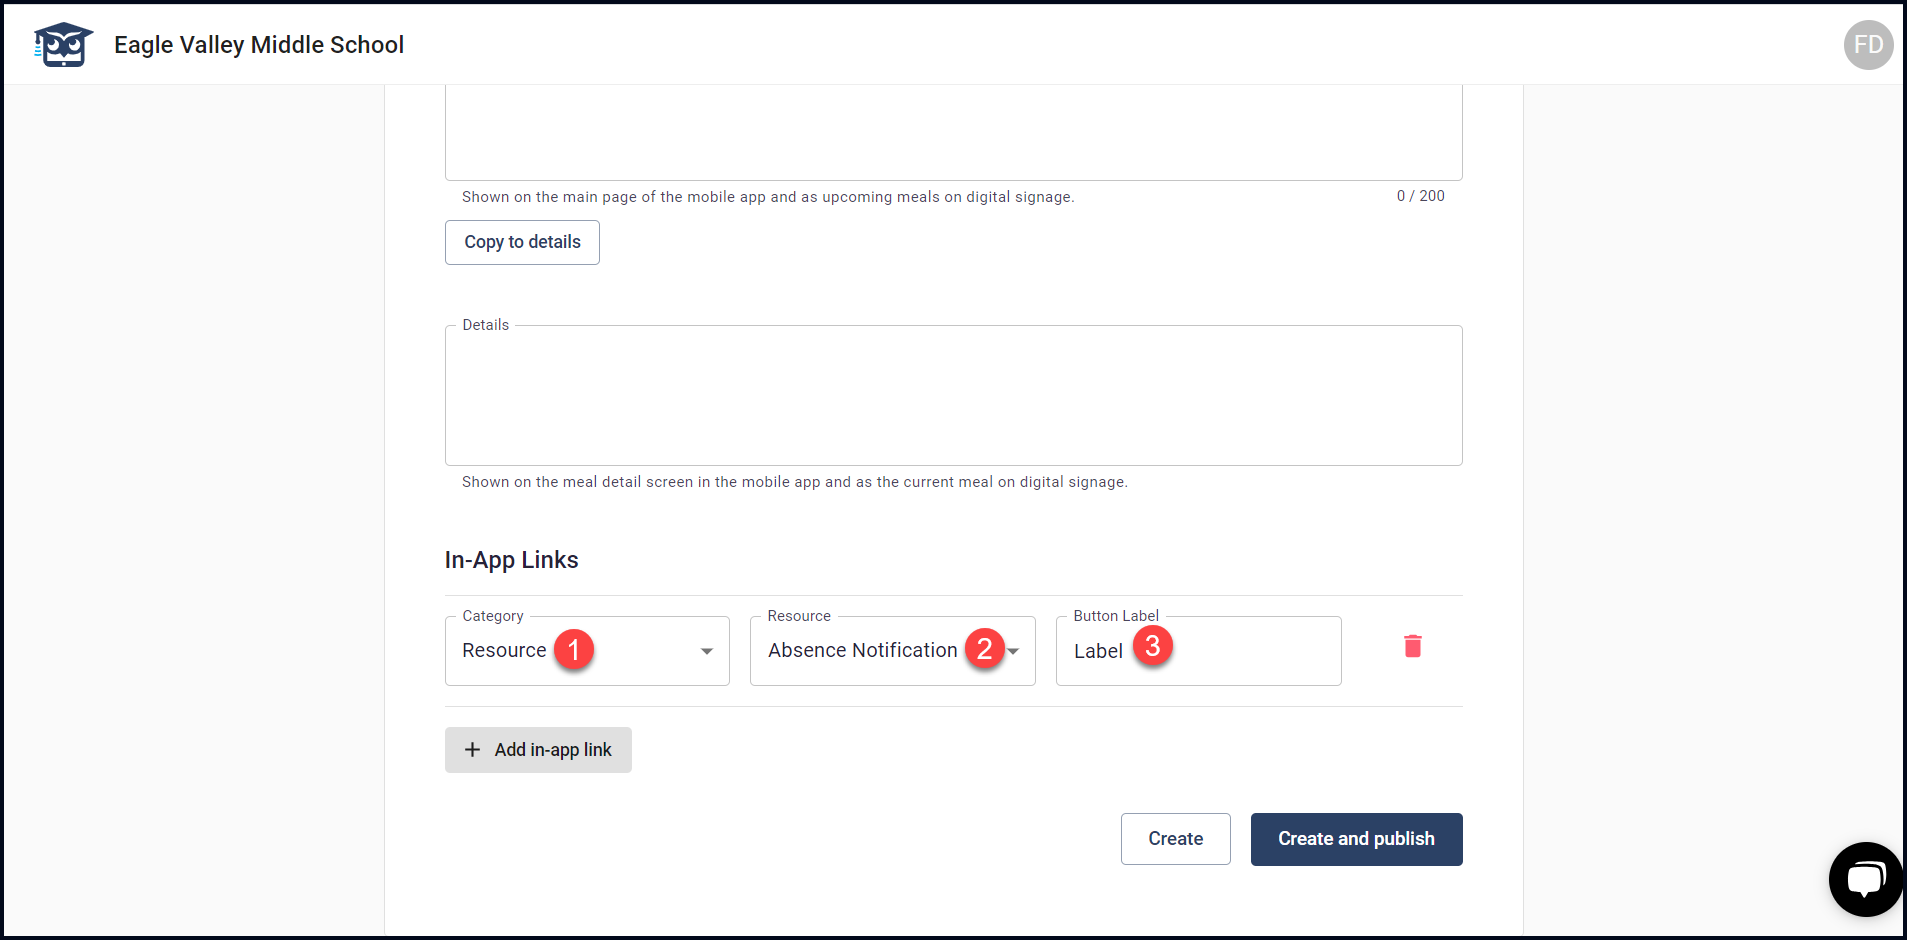
11. To include the in-app links, click the button. This reveals a couple of dropdowns and a field.
12. Select the category using the Category dropdown.
13. Choose the resource using the Resource dropdown.
14. Enter the label for the in-app link in the Button Label field.
15. To create the meal, click the Create button.

16. In case you want the meal to be published upon creation, click the Create and Publish button.